Make Mini Hanging Paper Treat Bags for the Christmas Tree
Fill them with wrapped candies, small toy favors or even gift cards!
Do you have a bunch of coworkers, kid's teachers or classmates, fellow Bible study members or just a big group of acquaintances to give some little Christmas gifts to? Or maybe you need to fill a display tree with some uniquely cute ornaments. I believe these super quick & easy treat pouches could be your answer.

Download Free Printables Now
 MATERIALS:
4.5 x 6.5 inch piece of card stockPencil and ruler
Scissors
Decorative edge scissors (optional)
Hole punch
Glue stick (or adhesive runner)
1/4-inch wide ribbon for handle
Sticky back ribbon, paper trim or other embellishments
CRAFTY TIPS: The easiest way to make several of these at once is to use a colorful 4.5 x 6.5 inch scrapbooking mat stack. Make a larger pouch by using a larger size rectangle base. And, you can experiment with your base too by using stiffened felt, corrugated cardboard or some other sturdy material to create the pouch.
INSTRUCTIONS:
Fold the card stock in half lengthwise. (If it is patterned, be sure the pattern faces out.) While folded in half, use decorative scissors to cut the unfolded edges. Unfold card stock with inside facing up. Measure about 1/2 inch from each long edge and draw lines on each side to mark it. Fold over and unfold to crease the paper on the drawn lines. Then cut a 1/2 inch slit along the center creased line to where it meets the side creased lines. Now you've created two sets of flaps on the sides.
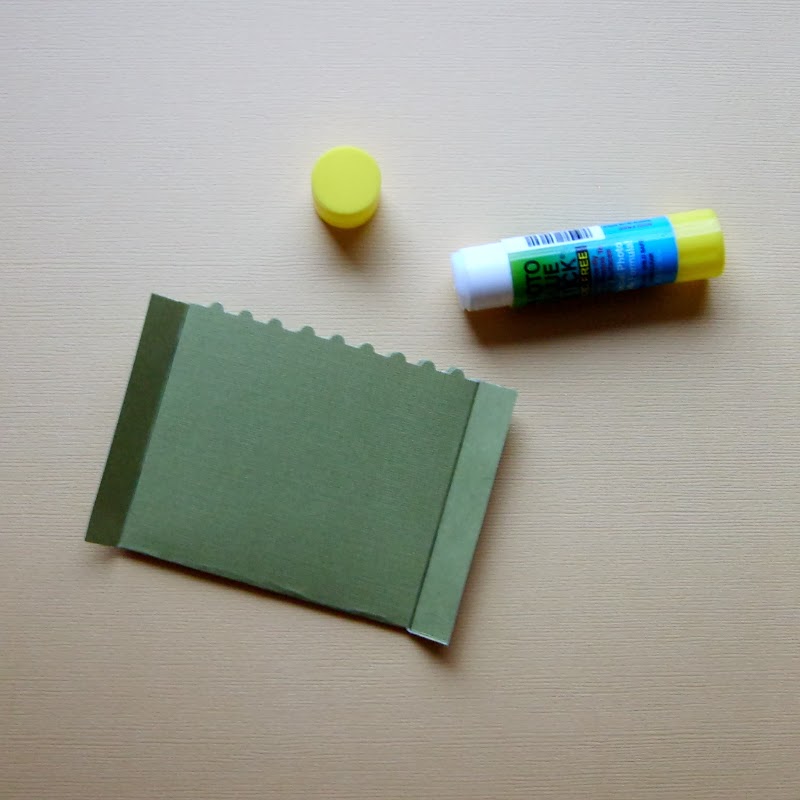
Fold one set of flaps (opposite each other) inward. Apply the glue stick to the back of the folded flaps. Then fold the flaps forward to meet the inside of the opposite half of the card stock rectangle. Press and hold in place for a few seconds until the glue dries. Now you've created the interior of the little pouch.
Apply the glue stick to the other set of flaps. Fold them onto the back of the pouch. Press and hold in place until the glue dries. (If needed, you can use paper clips to hold the flaps in place while they dry and work on making the next little pouch.) Use a standard hole punch to make a hole in each upper corner of the pouch.
For the handle, cut
about an 8 inch long piece of ribbon. Thread each end
through a hole starting at the back of the pouch. Double knot each
end on the front side of the pouch and trim the ends at angles. Add a line of sticky back ribbon, paper trim or other fun embellishments to decorate the pouch. You could also add a name to personalize it or a gift tag sticker.


Nice!
ReplyDelete